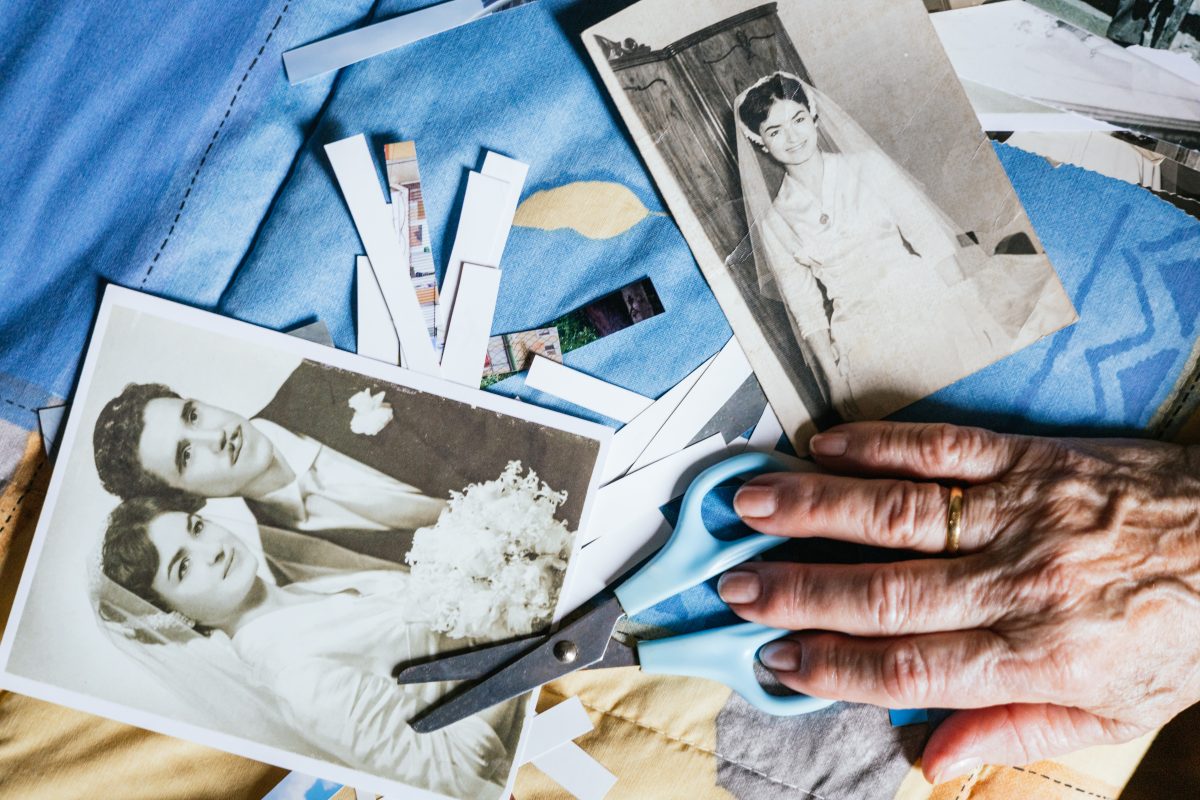
Crafting is a wonderful way for seniors to engage their creativity, improve fine motor skills, and enjoy social interaction. Personalized picture frames add a unique flare to an already meaningful decoration. Here is a step-by-step guide to creating your own personalized picture frame!
Materials Needed:
In order to complete this DIY craft, you will need the following materials:
1. Plain wooden or cardboard picture frames
2. Acrylic paint and brushes
3. Decorative items (buttons, beads, shells, etc.)
4. Glue
5. Picture to display
Steps:
1. Paint the Frame: Start by painting the frame with whatever color you think looks best. After this initial layer, let the paint dry completely.
After the first layer is dry, feel free to paint more coats or even add a fun design on top.
2. Decorate: Stretch your creative muscle and glue on some buttons, beads, shells or bows. Maybe even some glitter! Make sure you decorate the frame
exactly to your liking.
3. Insert Photo: Once all the frame’s paint and glue is dry, insert a favorite photo or maybe even a piece of artwork.
4. Display: Show off your personalized frame on a shelf or give it as a gift to a loved one!


